How to take good iphone photos
How to take good iphone photos

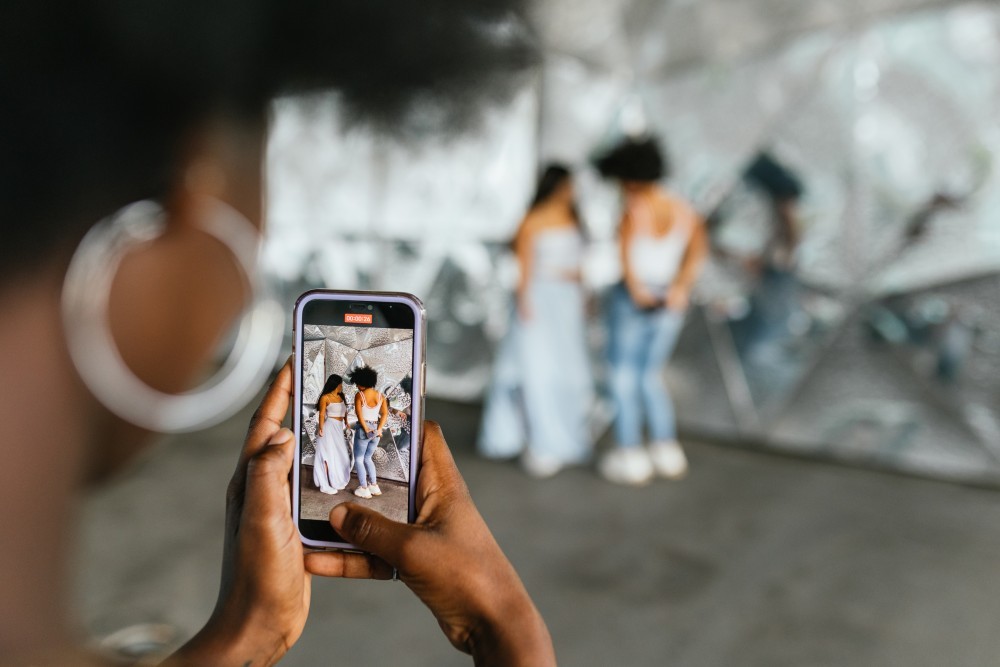
Welcome to HF Photography, where we believe that capturing the beauty of everyday life should be accessible to everyone. In today’s digital age, the camera you have with you most often is likely your iPhone. With each new model, iPhone cameras become more sophisticated, making high-quality photography more attainable for amateur and professional photographers alike. Here are some essential tips on how to elevate your iPhone photography game and snap stunning photos effortlessly.
1. Understand Your iPhone’s Camera Settings
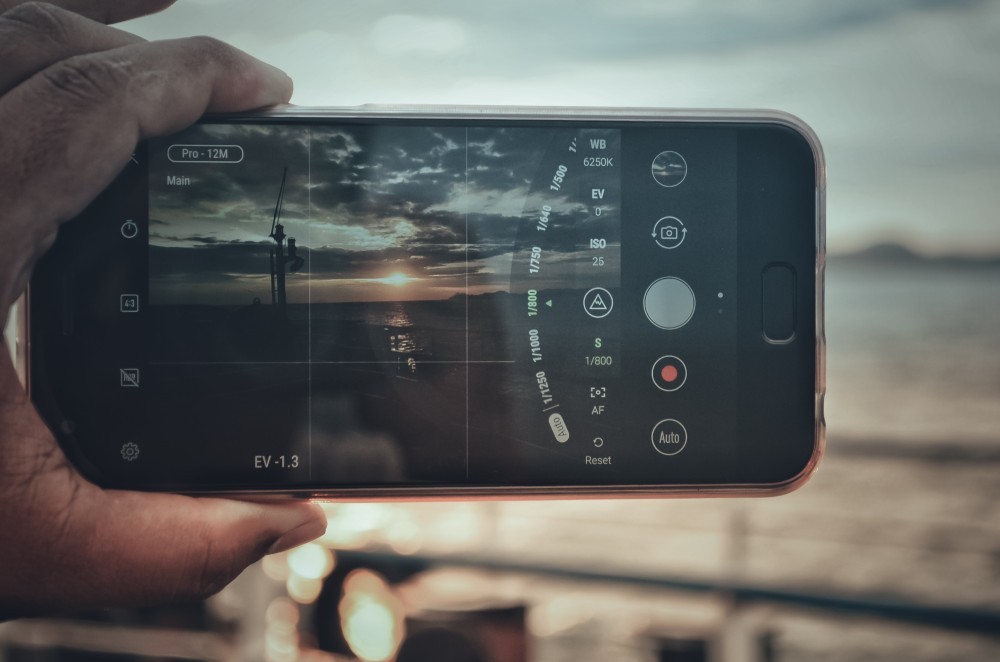
Before you start shooting, familiarize yourself with the different settings your iPhone camera offers. Learn how to switch between photo, portrait, and video modes. Play with the exposure, focus, and use the HDR (High Dynamic Range) mode to enhance the shadows and highlights in your photos. Don’t overlook the Live Photo feature, which captures a few seconds of video alongside your photo, giving you a mini animated snapshot of the moment.
2. Master the Art of Composition
Good composition is key to creating visually appealing images. Use the iPhone’s grid feature to help align your shots according to the rule of thirds – a classic photography principle that involves dividing the image into thirds both horizontally and vertically and placing the subject at the intersection of those lines. Also, try to find unique angles and perspectives to make your photos stand out.
3. Focus on Lighting
Lighting can make or break a photograph. Natural light is typically the best for photography, so try to take your photos during the golden hours (shortly after sunrise or before sunset) when the light is softer and more flattering. Avoid harsh midday sun which can create unwanted shadows and highlights. If you’re indoors, use windows to your advantage to get as much natural light as possible.
4. Utilize Portrait Mode
If your iPhone has a Portrait mode, use it to create beautiful, professional-looking shots with dreamy, blurred backgrounds. This mode is perfect for taking photos of people and pets, as it emphasizes the subject while softening the background. Experiment with the different lighting effects available in Portrait mode to enhance the mood of your photographs.
5. Edit Like a Pro
Taking the photo is only half the process; editing can transform a good photo into a great one. Use the built-in editing tools in your iPhone to adjust brightness, contrast, saturation, and more. For more advanced editing, consider apps like Adobe Lightroom or VSCO, which offer more control and filters to achieve your desired look.
6. Keep Your Lens Clean
A simple but often overlooked tip is to regularly clean your iPhone’s lens. A dirty lens can result in photos that are blurry, smudged, or have glare. Use a soft, lint-free cloth to gently wipe the lens and ensure your photos are as clear as possible.
7. Practice, Practice, Practice
The best way to improve your iPhone photography skills is to practice. Take your phone out and start capturing everything from the mundane to the magnificent. Try different settings, compositions, and editing techniques to discover what works best for you and develop your own unique style.
Conclusion
With these tips, you’re well on your way to taking professional-quality photos with just your iPhone. Remember, the best camera is the one you have with you, and with a bit of knowledge and creativity, you can turn your everyday moments into stunning works of art. Keep experimenting, keep learning, and most importantly, keep enjoying the process of photography!
For more tips and tricks on making the most of your photography, stay tuned to HF Photography. Whether you’re an amateur looking to improve your photographic skills or just someone who loves capturing life’s moments, we’re here to help you every step of the way. Happy shooting!